The Benefits of Making DIY Beeswax Wraps
3/30/20263 min read
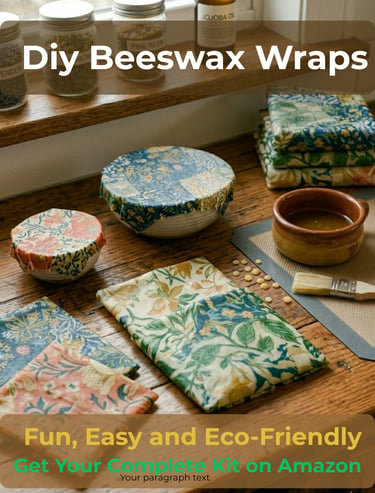
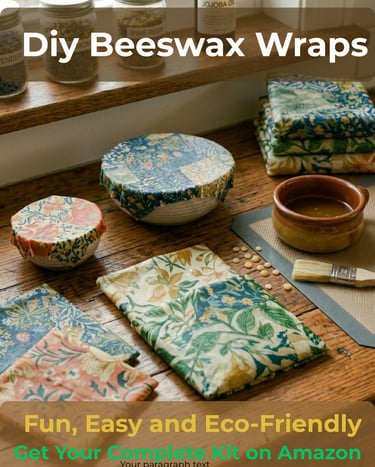
Introduction to DIY Beeswax Wraps
In recent years, DIY beeswax wraps have become an increasingly popular alternative to plastic wrap in kitchens around the world. Not only are these wraps environmentally friendly, but they also offer an excellent way to preserve food while reducing waste. If you’re curious about how to create these eco-friendly wraps and why they should be a staple in your kitchen, read on! This post contains affiliate links, I may earn a small commission on sales at no extra cost to you.
Why Choose Beeswax Wraps?
Beeswax wraps are a sustainable choice for those looking to minimize their environmental impact. They are reusable, compostable, and made from natural materials, making them a much healthier option compared to single-use plastic wraps. Plus, they come in a variety of colors and patterns, allowing kitchen aficionados to maintain a stylish and organized food storage system.
Another advantage of using beeswax wraps is their properties that help keep food fresh. The natural beeswax creates a breathable barrier that seals in moisture while allowing airflow, reducing the likelihood of mold development or spoilage. For anyone who is conscious about food waste, incorporating DIY beeswax wraps into your routine can lead to significant savings.
How to Make Your Own Beeswax Wraps
Creating your own beeswax wraps is a fun and straightforward DIY project. Here’s how you can get started.
Ingredients & Materials
Cotton fabric squares – 8×8 inches or larger (100% cotton works best)
Beeswax pellets – 2–3 tablespoons per square
Pine resin (optional) – 1 teaspoon for extra stickiness
Jojoba oil or coconut oil – ½ teaspoon per square for flexibility
Parchment paper
Iron or oven
Brush or spoon for spreading wax
💡 Tip: If you want, you can find beeswax pellets, resin, and oils on Amazon to make this even easier.
Instructions
1. Prepare Fabric
Wash and dry your cotton fabric. Iron to remove wrinkles.
Cut into squares or rectangles—any size you prefer.
2. Mix Wax Ingredients
In a heat-safe bowl, combine beeswax pellets, pine resin, and oil.
Melt gently using a double boiler or in the oven at 200°F / 93°C. Stir until fully melted.
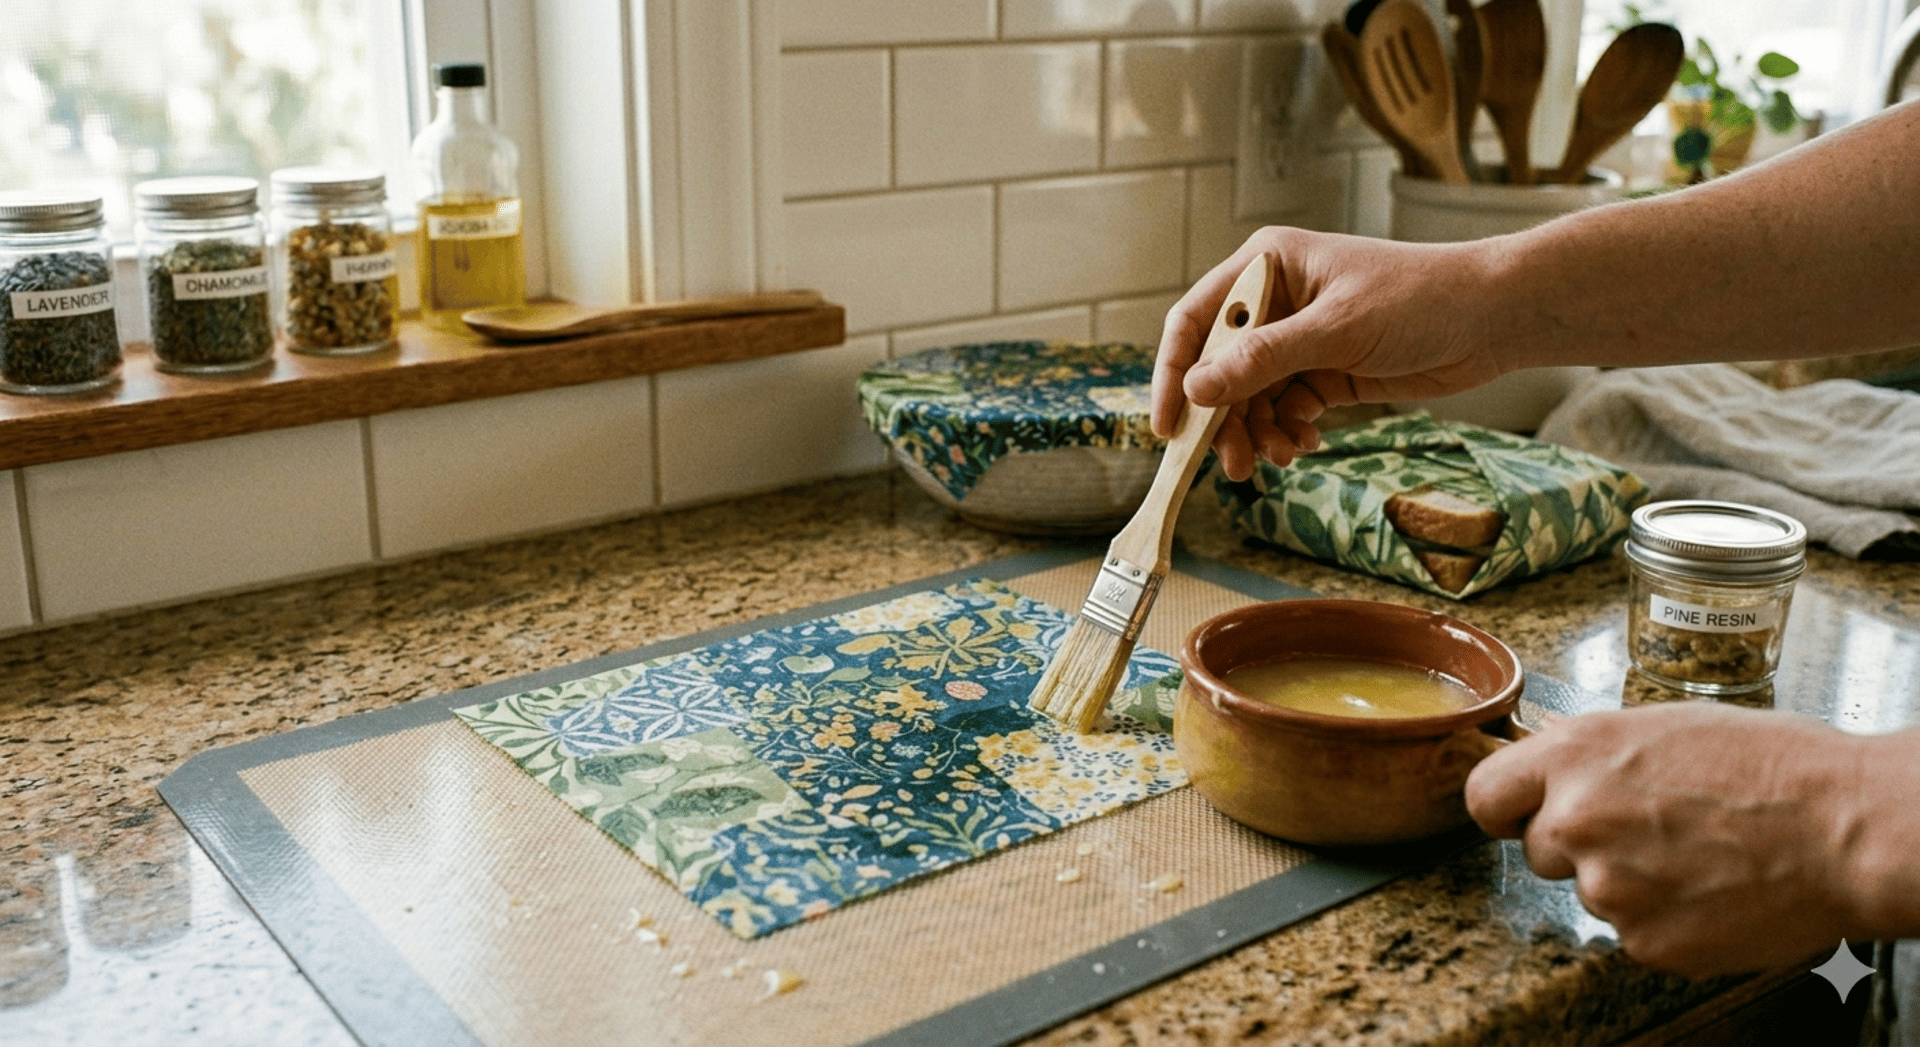
3. Apply Wax to Fabric
Place fabric on a piece of parchment paper.
Brush melted wax evenly over the fabric, covering all areas.
Place another sheet of parchment on top.
4. Melt & Set Wax
Option 1: Iron method – Iron over the top parchment to fully melt wax into the fabric.
Option 2: Oven method – Bake at 200°F / 93°C for 3–5 minutes until wax is absorbed.
Remove parchment and let the fabric cool completely.
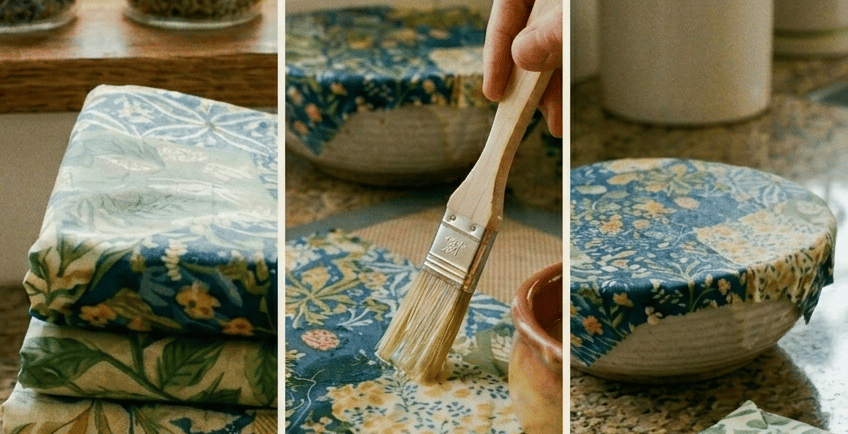
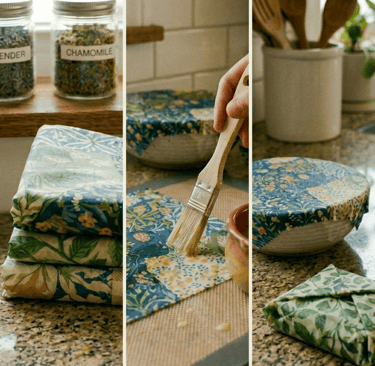
5. Use Your Wraps
Wrap sandwiches, cover bowls, or store snacks.
Wash gently with cold water only, air dry, and reuse.
Tips for Longevity
Avoid raw meat or fish directly on wraps.
Reapply wax if wrap loses stickiness—just repeat steps 2–4.
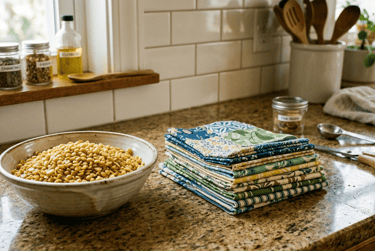
Store wraps folded in a drawer or container.
💡 If you want to skip measuring and mixing, a complete DIY beeswax wrap kit on Amazon has everything ready to go—including pre-cut fabric, wax, and brushes.
Conclusion
Embracing DIY beeswax wraps not only benefits the environment but also adds creativity to your kitchen habits. As you get familiar with crafting these wraps, you may find them more efficient and aesthetically pleasing compared to conventional alternatives. Start your eco-friendly journey today by incorporating DIY beeswax wraps into your food storage solutions!

Contact
Questions? Write us anytime.
lanam@apartmenthomestead.com
© 2025. All rights reserved.